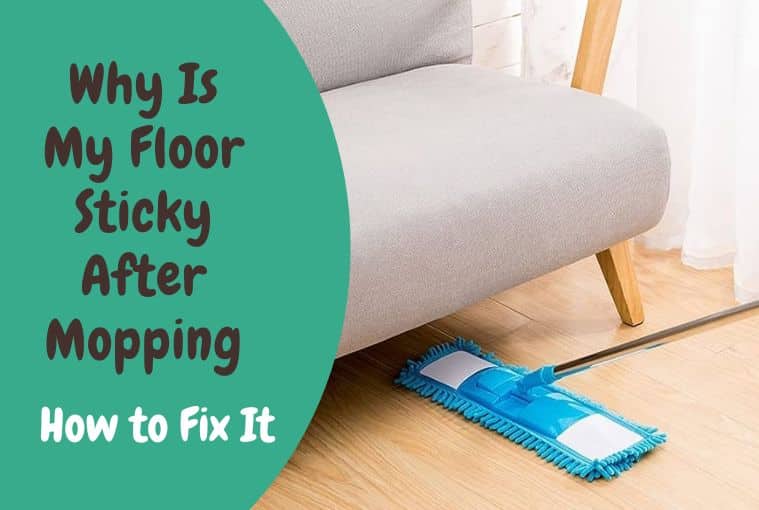
Are you wondering why your floor remains sticky even after mopping it? If you are troubled by this problem and suffer from sticky kitchen and bathroom floors, this article is just the solution you are looking for. As you already know, mopping is a must for maintaining a hygienic living space. However, I understand that it can be frustrating when, despite your best efforts, your floor is sticky after mopping.
A sticky floor defeats the purpose of cleaning and feels extremely unpleasant underfoot. Worry not! I am here to explain the possible reasons and mistakes behind sticky floors. With this detailed guide on cleaning methods, you can clean different types of flooring—laminate, wooden, tiled, and vinyl with ease.
By understanding these issues and learning how to clean and care for your floors effectively, you will be at the top of the cleaning game, making others marvel over your pristine floors!
What Makes Your Floor Sticky?
If your floor is persistently sticky after every cleaning session, then there might be several mopping mistakes that you are making and overlooking while undertaking the process. Read on to know all the possible reasons behind a sticky floor.
- Residue Build-Up
Residue build-up from cleaning products is one of the common causes of sticky floors. When you use too much detergent or fail to rinse thoroughly, a sticky film can form on the floor’s surface. This residue not only makes your floor sticky but also attracts dirt, making it even harder to clean.
- Using the Wrong Cleaning Products
Different flooring materials require specific cleaning products. Using a cleaner not suitable for your floor type can lead to stickiness. For example, using a wax-based cleaner on laminate flooring can result in a gummy, sticky mess. Make sure to identify the right cleaner for your floor!
- Improper Dilution
Always keep out an eye for concentrated cleaners. If you’re using a concentrated floor cleaner, it’s crucial to dilute it correctly. Using a solution that is too strong can leave a sticky residue behind. Don’t forget to follow the manufacturer’s instructions for the proper dilution ratio.
- Dirty Mop or Water
Sometimes, the unnoticeable culprit is your dirty mop or water. If your mop isn’t clean or if you’re using dirty water, you’re essentially spreading dirt and grime around, which can dry into a sticky mess to increase your work.
- Vacuum the Floor
Mopping should be a thorough and deliberate process. Rushing through it may result in inadequate cleaning, leaving behind dirt and a cleaning solution that can become sticky when dry. It is always advised to vacuum before cleaning.
How to Clean Your Floor?
Choose the Correct Solution for Your Floor!
Cleaning your floors effectively depends on the type of flooring you have. Each type of flooring requires a specific approach to ensure they are cleaned without leaving behind a sticky residue. I have enlisted a detailed cleaning method guide for laminate, wooden, tiled, and vinyl flooring.
Laminate Flooring
Laminate flooring is a popular choice due to its durability and affordability. However, it’s also sensitive to excess moisture, making it prone to damage if not cleaned correctly. Follow this step-by-step guide for more clarity.
Step 1: Gather Your Supplies
Before you begin, gather the following supplies:
- A microfiber mop or a mop with soft bristles
- Warm water
- A few drops of mild dish soap
- A bucket
- Clean, dry towels
Step 2: Mix the Cleaning Solution
Fill the bucket with warm water and add a few drops of mild dish soap. Avoid using excessive soap, as it can leave a residue. Mix the solution gently.
Step 3: Mop the Floor
Dip the mop into the soapy water mixture and wring it out thoroughly. The mop should be damp, not soaking wet. Excess water can seep into the seams and damage the laminate. Start mopping the floor, moving in the direction of the laminate planks. This helps prevent water from getting between the seams.
Step 4: Dry the Floor
After mopping, it’s crucial to dry the floor immediately. Use clean, dry towels to wipe up any remaining moisture. This step is vital in preventing water damage and ensuring your laminate floor remains in good condition.
Wooden Flooring
Wooden floors add warmth and elegance to your home. They require special care to maintain their beauty and prevent damage.
Step 1: Gather Your Supplies
For cleaning wooden floors, you’ll need:
- A soft-bristle broom or vacuum cleaner with a hardwood floor attachment.
- A pH-neutral wood floor cleaner or a mixture of water and white vinegar.
- A microfiber mop.
- Clean, dry towels.
Step 2: Sweep or Vacuum
Start by sweeping or vacuuming the floor to remove dust, dirt, and debris. Be gentle to avoid scratching the wood.
Step 3: Mix the Cleaning Solution
In a bucket, mix warm water and a pH-neutral wood floor cleaner or a 1:4 ratio of white vinegar to water. Avoid using excessive water, as it can cause damage to wood.
Step 4: Mop the Floor
Dip the microfiber mop into the cleaning solution and wring it out well. The mop should be damp, not wet. Mop the floor in the direction of the wood grain. This method prevents streaks and water from seeping between the floorboards.
Step 5: Dry the Floor
After mopping, immediately dry the floor with clean, dry towels. This step ensures that excess moisture is removed, preventing warping or damage to the wood.
Tiled Flooring
Tile floors are known for their durability and ease of maintenance. However, grout lines can trap dirt and grime, requiring special attention during cleaning.
Step 1: Gather Your Supplies
For cleaning tiled floors, gather the following supplies:
- A soft-bristle broom or vacuum cleaner.
- A pH-neutral tile and grout cleaner or a mixture of water and baking soda.
- A soft brush or an old toothbrush for grout.
- A bucket.
- Clean, dry towels.
Step 2: Sweep or Vacuum
Start by sweeping or vacuuming the tile floor to remove loose dirt and debris.
Step 3: Mix the Cleaning Solution
In a bucket, mix a solution of warm water and a pH-neutral tile and grout cleaner or a paste made from water and baking soda.
Step 4: Clean the Tiles and Grout
Dip a soft brush or an old toothbrush into the cleaning solution and scrub the grout lines gently. This step may require a bit of elbow grease, especially if the grout is heavily soiled. Afterward, use a mop or a soft cloth to clean the tile surface itself.
Step 5: Rinse and Dry
Rinse the floor with clean water to remove any remaining cleaning solution. Dry the floor with clean, dry towels or allow it to air dry. Proper drying prevents any residue from becoming sticky.
Vinyl Flooring
Vinyl flooring is resilient and can handle various cleaning methods. But it’s essential to use the right products to avoid residue.
Step 1: Gather Your Supplies
For cleaning vinyl floors, you’ll need:
- A soft-bristle broom or vacuum cleaner.
- A pH-neutral vinyl floor cleaner or a mixture of water and white vinegar.
- A microfiber mop.
- Clean, dry towels.
Step 2: Sweep or Vacuum
Begin by sweeping or vacuuming the vinyl floor to remove dust and debris.
Step 3: Mix the Cleaning Solution
In a bucket, mix a solution of warm water and a pH-neutral vinyl floor cleaner or a 1:4 ratio of white vinegar to water.
Step 4: Mop the Floor
Dip the microfiber mop into the cleaning solution and wring it out well. The mop should be damp, not dripping wet. Mop the floor, working in small sections. Vinyl floors can handle a bit more moisture than other types of floors, but you should avoid excessive water.
Step 5: Dry the Floor
After mopping, it’s still vital to dry the floor or let it air dry. This step ensures that no residue is left behind and the floor remains clean and non-sticky.
Different type of flooring needs specific care and attention. Identify the correct method of cleaning your unique floor from this guide to treat your floor with the utmost care and precision.
How to Avoid Sticky Floors in the Future
Now that you know what’s best for your house flooring, let’s go through some proactive steps/cleaning solutions you can take to avoid encountering sticky floors in the future.
- Use the Right Cleaning Products
-
- The first and foremost rule in floor cleaning is to use cleaning products specifically designed for your type of flooring. Check the manufacturer’s recommendations or labels to ensure compatibility. Avoid generic or all-purpose cleaners that may contain ingredients that leave residues.
- Proper Dilution
-
- When using concentrated cleaning products, make sure to follow the manufacturer’s instructions for dilution. Overdiluting or underdiluting can result in inefficient cleaning or sticky residue.
- Rinse Thoroughly
-
- After cleaning your floors with any cleaning solution, be sure to rinse them thoroughly with clean water. This step removes any remaining cleaning residue and ensures your floor is left spotless.
- Regular Maintenance
-
- Establish a regular cleaning routine. Frequent light cleaning can help prevent dirt and grime from accumulating, making deep cleaning sessions less demanding and reducing the chances of sticky residue formation.
- Microfiber Mops
-
- Consider using microfiber mops. They are highly effective at picking up dirt and debris and leave less moisture behind compared to traditional string mops. Microfiber mop pads can be machine-washed, making them a more hygienic and eco-friendly choice.
- Proper Drying
- After mopping, make sure your floors dry completely. Excess moisture left on the surface can lead to stickiness. Use dry towels or allow the floors to air dry as per the recommendations for your specific flooring type.
- Avoiding Excess Water
- Especially for wood and laminate floors, in particular, be cautious about excess water. Use a damp mop rather than a wet one, and immediately dry any spills to prevent water from seeping between the seams or causing damage.
By incorporating these preventive measures into your floor care routine, you can significantly reduce the likelihood of encountering sticky floors after cleaning.
Conclusion
Now that you are armed with the proper knowledge and practices using the best non-sticky liquid floor cleaners, you can easily avoid irritating, sticky floors. Understanding the reasons behind sticky floors, adopting proper cleaning techniques, and implementing preventive measures will help you maintain spotless, non-sticky floors in your home. With consistent care and attention, your floor will pass the test of time, making everyone enquire about your secret cleaning techniques. Happy cleaning to you!
Read here –



Leave a Reply
View Comments